A collaborative art activity to create and display in your classroom during NAIDOC Week.
Celebrate NAIDOC Week in style with this collaborative art activity! Students work together to create one finished piece of art.
What Is NAIDOC Week?
NAIDOC Week celebrates and honours Aboriginal and Torres Strait Islander peoples and cultures. The week occurs annually in July, usually including the second Friday. This day was historically celebrated as ‘National Aboriginal Day’. NAIDOC Week provides an opportunity for all Australian people to recognise the history and achievements of our First Nations peoples.
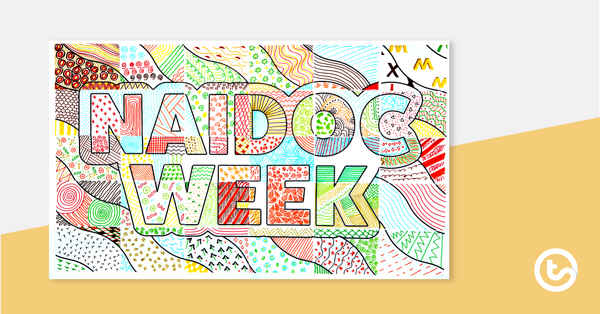
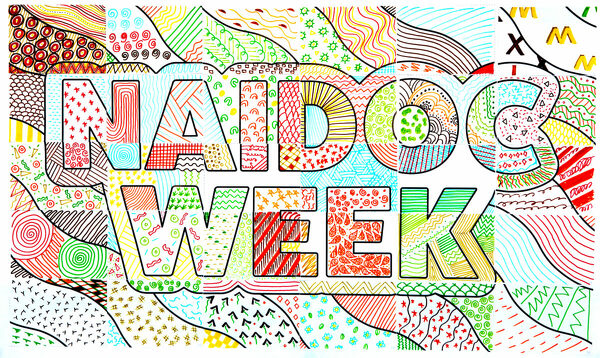
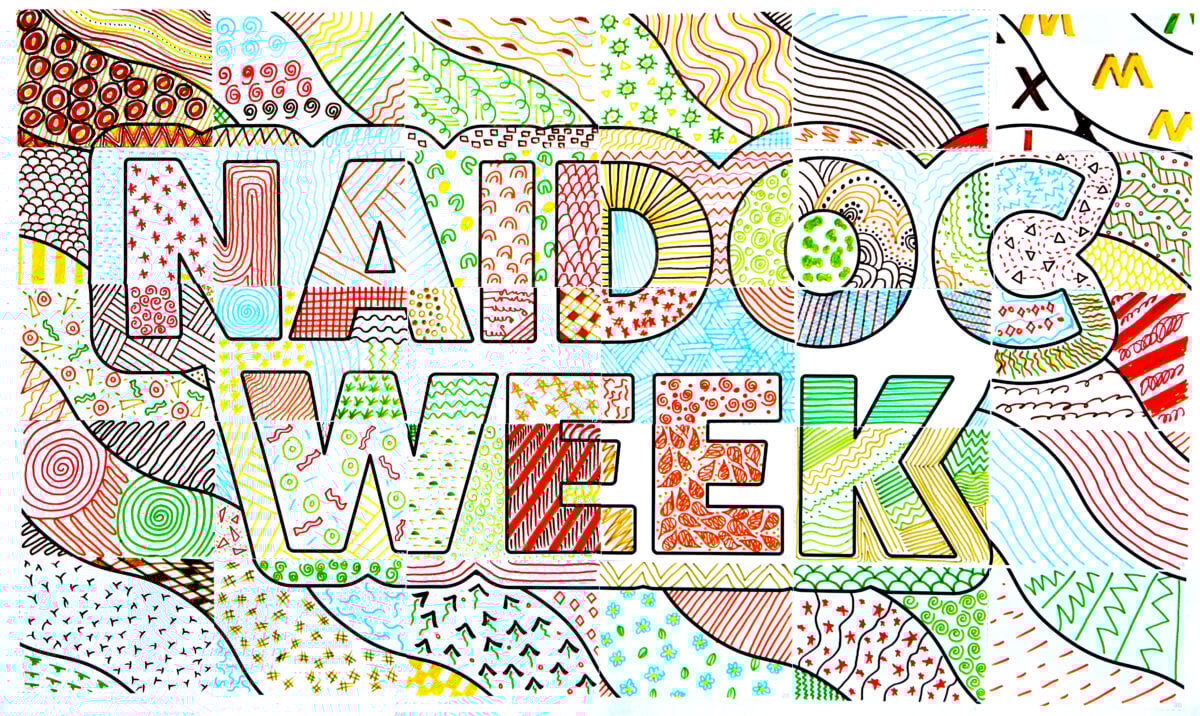
Create a NAIDOC artwork to display in your classroom with pride!
Students will need markers to complete this activity. Natural colours such as blue, green, red, orange and brown are recommended, as these colours represent the connection that First Nations people have with Country. Do not use black marker as it will interfere with the lines already drawn on the template (that are part of the artwork).
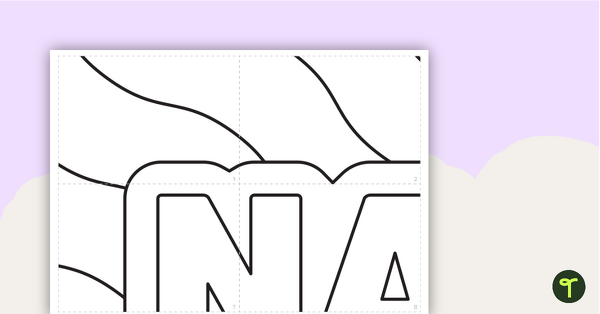
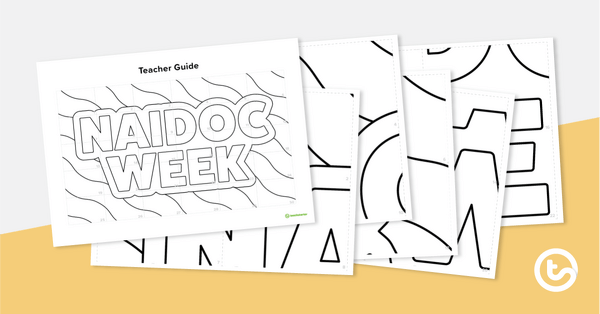
Print the template, then cut along the dotted lines to create individual pieces. Distribute the pieces of the template to the students. There is a right side and a wrong side to each piece. The right side has a number written in the bottom right corner. Ask the students to turn the paper over and lightly record this number in pencil on the wrong side of the paper. (This is just in case the number becomes obscured by their drawing). Students then flip the piece back over and fill in the template piece with lines and patterns.
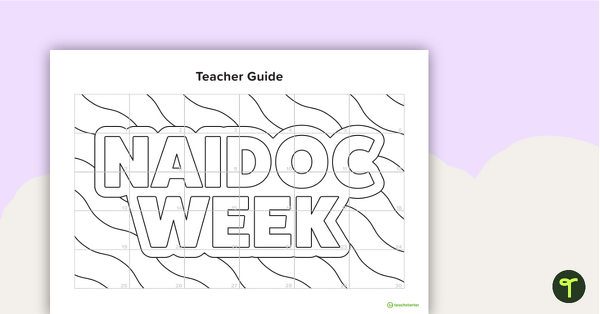
Once the students have completed their work, the artwork is assembled by gluing the pieces, in number order, onto a large sheet of backing paper. A guide is provided to see what the completed artwork should look like. Display the finished product in your classroom during NAIDOC Week for everyone to enjoy!


This is Awesome. Last year I was sure there was turtle like this but I cant find it.
Hi Beth, I don't believe we have a collaborative art activity featuring a turtle at this stage. We do have a Turtle colouring from Wingaru Kids which you can find at the following address: https://www.teachstarter.com/au/teaching-resource/christmas-tree-ornament-turtle/