Download a printable Easter basket for a fun classroom craft activity.
Make Easter Baskets in the Classroom This School Year
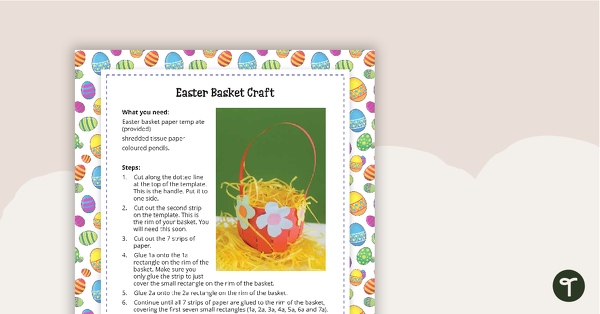
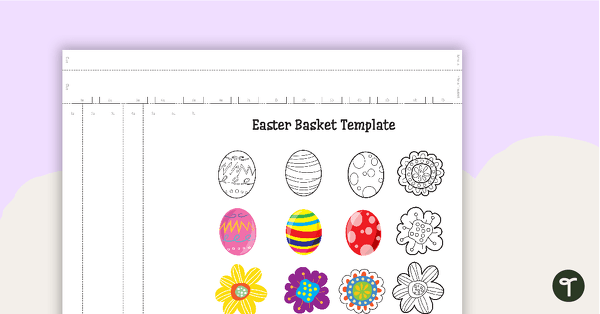
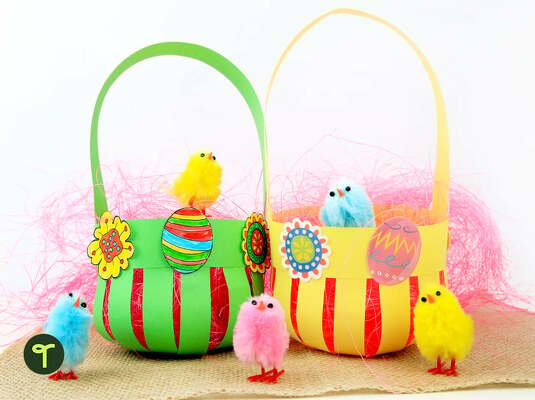
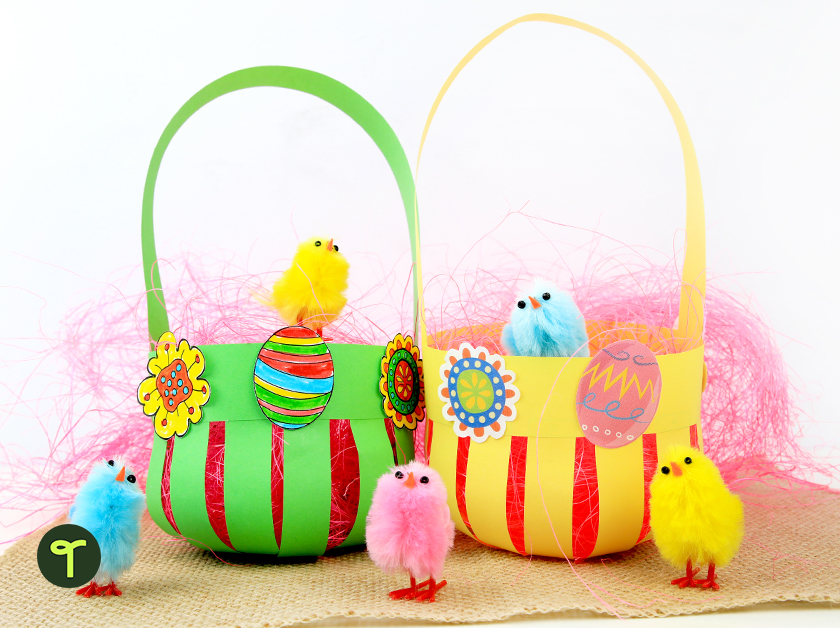
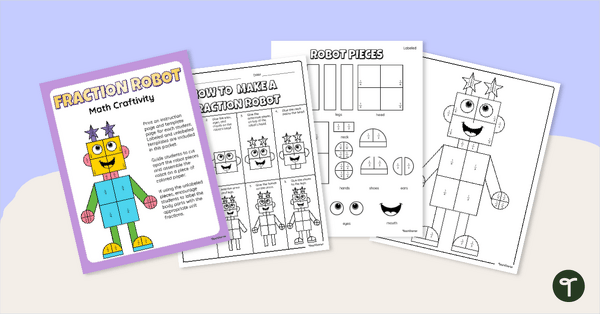
Are you looking for a fun Easter craft activity? Whether you’re planning for the Easter Bunny to make a visit to the classroom, or you’re working with your class to create something they can take home, this printable Easter basket template has you covered with easy-to-assemble cut-outs that have already been pre-measured for your students.
The download also comes with an instructions page for students to follow (including an example image of the finished product), so they can work on following instructions while they craft! Also included are egg and flower cut-outs that students can use to add an extra flourish to their baskets.
How to Use This Easter Basket Template
- Cut along the dotted line at the top of the template. This is the handle. Put it to one side.
- Cut out the second strip on the template. This is the rim of your basket. You will need this soon.
- Cut out the 7 strips of paper.
- Glue 1a onto the 1a rectangle on the rim of the basket. Make sure you only glue the strip to just cover the small rectangle on the rim of the basket.
- Glue 2a onto the 2a rectangle on the rim of the basket.
- Continue until all 7 strips of paper are glued to the rim of the basket, covering the first seven small rectangles (1a-7a)
- Next, glue 1b onto the 1b rectangle on the rim of the basket.
- Continue until both ends of the 7 strips of paper are glued onto the rim of the basket forming a small basket.
- Glue each end of the handle onto the basket.
- Use the flowers/eggs provided to decorate your basket, or create your own decorations.

Is the basket template printed onto A4 or A3 paper?
Hi Jessica, we printed ours just on A4, although if you want the basket to be bigger it would work perfectly fine on A3 also.